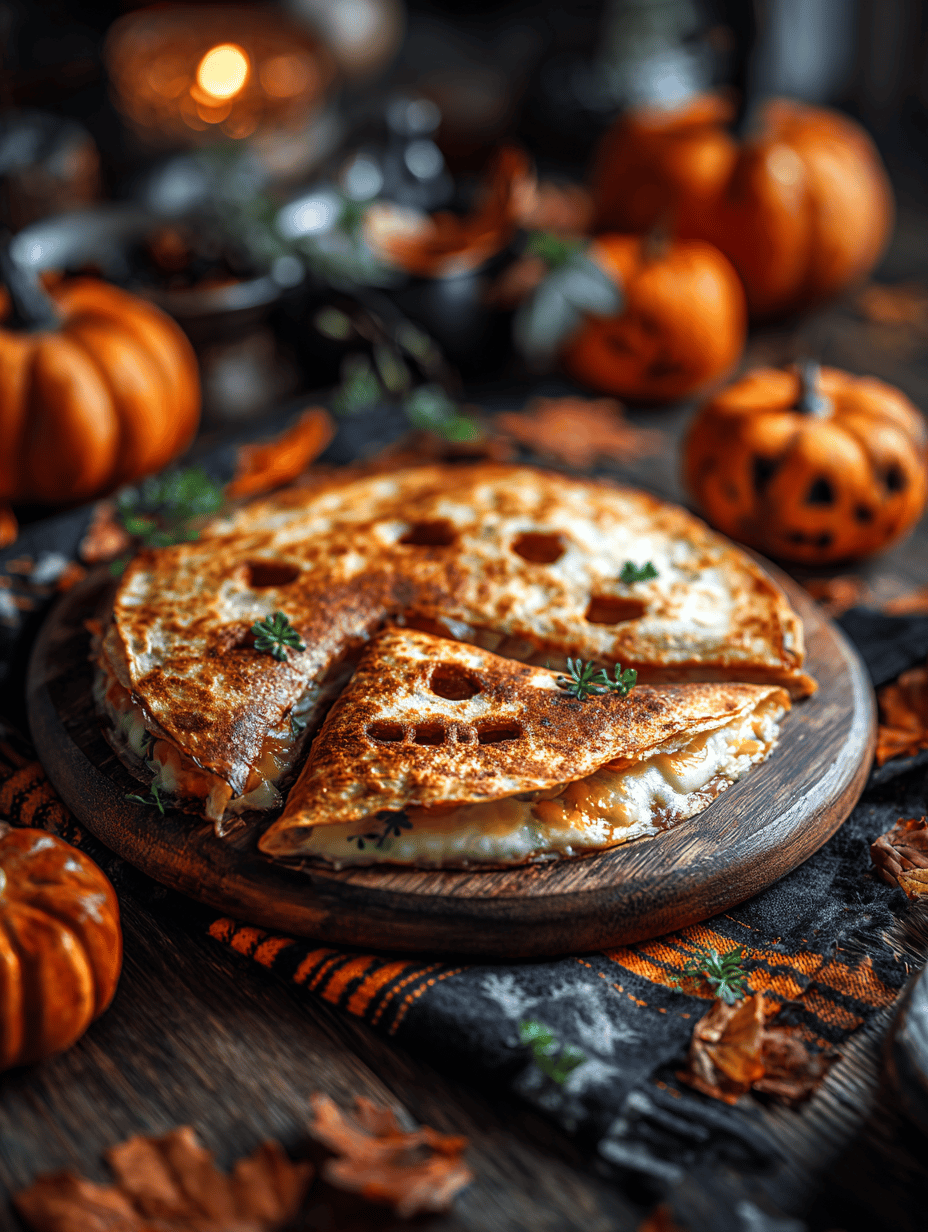
Halloween isn’t just about candy and costumes; it’s about transforming the familiar into something a little spooky. These quesadillas take that spirit and turn it into a quick, satisfying snack that’s perfect for kids and adults alike. They’re a playful way to celebrate the season without fussing over complicated recipes.
Why these quesadillas keep me coming back
They’re quick, forgiving, and always a hit. The kids love the spooky faces and gooey cheese, and I like that I can throw them together with what’s on hand. They remind me of childhood Halloweens, but with a grown-up twist of flavor. It’s a simple, satisfying way to celebrate the season without the fuss.
Inside the spooky ingredients
- Tortillas:: Soft, pliable, perfect for wrapping and shaping, can swap for gluten-free if needed.
- Cheese:: Mild shredded cheddar melts beautifully; switch to Monterey Jack for a creamier bite.
- Refried beans:: Creamy base that holds toppings; substitute with hummus for a different flavor.
- Olives:: Black or green, sliced for eyes or other decorations, adding a salty punch.
- Bell peppers:: Colorful and crisp, they add crunch and a splash of color, brightening the spooky face.
- Salsa or sour cream:: For dipping, adds tang and creaminess, balancing the richness.
- Spooky decorations:: Carved olives or peppers for faces, adding a visual punch.
Tools of the trade for spooky snacks
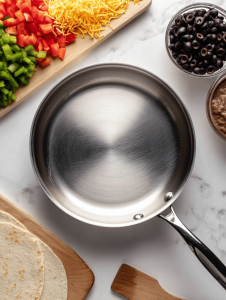
- Large non-stick skillet: For even heating and easy flipping.
- Spatula: To flip and handle the quesadillas carefully.
- Cookie cutters or knife: To cut out fun, spooky shapes.
- Cutting board: A flat surface for decorating and cutting.
Step-by-step guide to creating your Halloween quesadillas
Step 1: Preheat your pan over medium heat, about 180°C (350°F).
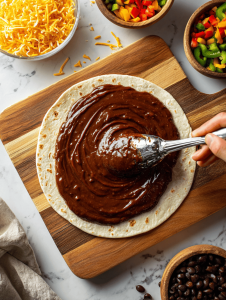
Step 2: Lay a tortilla on a cutting board and spread a thin layer of refried beans.
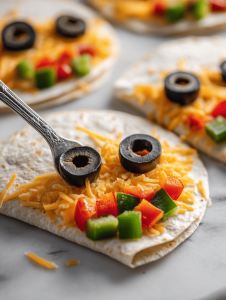
Step 3: Add shredded cheese, then decorate with sliced olives and bell peppers for a spooky face.
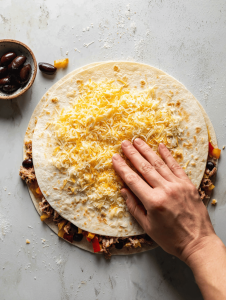
Step 4: Cover with another tortilla and gently press down.
Step 5: Cook for about 3-4 minutes on each side, until golden and crispy.
Step 6: Flip carefully using a spatula, and watch for bubbling cheese and a nutty aroma.
Step 7: Remove from heat and let sit for 2 minutes before slicing.
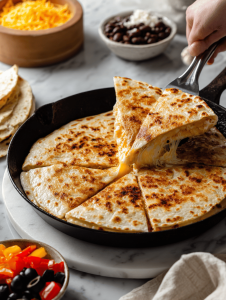
Step 8: Cut into triangles, revealing the gooey, cheesy interior.
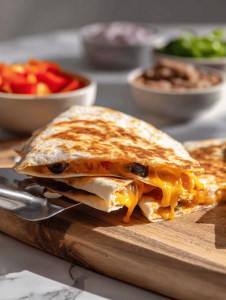
Step 9: Serve with sour cream or salsa for extra zing.
Cooking checkpoints to get it just right
- Cheese should be melted and bubbly, not burnt or dry.
- Golden-brown edges indicate perfect crispiness.
- Spooky designs should be visible but not overcooked or burnt.
- The quesadilla should feel firm but not brittle when you pick it up.
Common pitfalls and how to dodge them
- Quesadillas burn quickly.? Use medium heat; high can burn the tortillas before cheese melts.
- Overstuffed quesadillas fall apart.? Add cheese gradually; too much can be hard to flip.
- Cheese remains unmelted.? Cover the pan if cheese isn’t melting; it traps heat.
- Cheese oozes out when sliced.? Let quesadillas rest a minute before cutting.
Spooky Halloween Quesadillas
Ingredients
Equipment
Method
- Preheat your skillet over medium heat until warm and slightly shimmering.
- Lay a tortilla flat on a cutting board and spread a thin layer of refried beans evenly over half of it.
- Sprinkle shredded cheese generously over the bean layer, covering it completely for gooey meltiness.
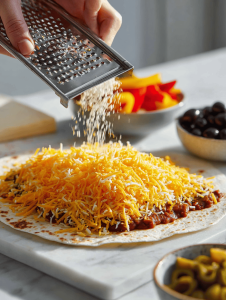
- Use slices of black olives and chopped bell peppers to create spooky faces—eyes, mouths, and other decorations—on top of the cheese.
- Place another tortilla on top, pressing gently to seal the edges and hold the fillings inside.
- Carefully lift the quesadilla with a spatula and place it in the preheated skillet. Cook for about 3-4 minutes until the bottom is golden brown and crispy, sizzling softly.
- Flip the quesadilla carefully with the spatula and cook for another 3-4 minutes until the second side is also golden and the cheese is melted and bubbly.

- Remove the quesadilla from the skillet and let it rest on a cutting board for 2 minutes, allowing the cheese to set slightly.
- Cut into triangles using a sharp knife or cookie cutter for fun shapes, revealing the cheesy, gooey interior.

- Serve warm with a dollop of sour cream or salsa on the side for dipping and extra flavor.

Notes

Hi, I’m Daniel Whitaker, the voice and recipe developer behind Broth Psychologist. I’m so glad you’re here. This little corner of the internet started as a way for me to share comfort through cooking, but it has grown into something much deeper.
 Hi, I’m Daniel Whitaker, the voice and recipe developer behind Broth Psychologist. I’m so glad you’re here.
This little corner of the internet started as a way for me to share comfort through cooking, but it has grown into something much deeper.
It’s where food meets feeling, and where simple ingredients tell meaningful stories.
Hi, I’m Daniel Whitaker, the voice and recipe developer behind Broth Psychologist. I’m so glad you’re here.
This little corner of the internet started as a way for me to share comfort through cooking, but it has grown into something much deeper.
It’s where food meets feeling, and where simple ingredients tell meaningful stories.


